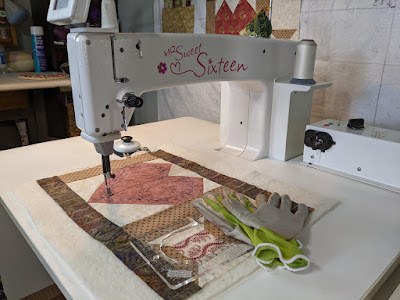
Getting Ready to start Quilting!
Setting up to Quilt with me!
I have wanted this machine since I saw it at my girlfriends house! She loved and loves it, so when I had to sell my ancient Longarm (we moved and have no room) I decided if I got a quilting machine again, I wanted the Sweet Sixteen. Now 4 years later, for my 50th anniversary, my husband got her for me! Yes, used, but as good as new! So on to learning how to use her...
I made a set of placemats because I thought they would be good to practice on. My disclaimer; this is not a tutorial. I am only laying out what I do. If you have suggestions, please comment. Thanks.
The first thing I did was lay out an old sheet saved for this purpose, place my placemats right side down and spray baste them. I also sprayed my backing fabric. Then sandwiched it all with some leftover batting.
I used some quilt spray by June Tailor, Inc that I've had on hand for a while. I bought a few when I saw them on sale, so I know the exact spray isn't available. But this is the new version. June Tailor Quilt Basting Spray. I really like this brand and it has good reviews. There is a definite odor to the one I used, actually to all the basting sprays, so as recommended open the window when spraying. We all have masks now so wearing one while spraying shouldn't be a problem. When finished, remove the sheet you use to the washroom to remove the lingering chemical odor.
I tried to use my pounce/swiper chalk box but, only having white chalk, it didn't show well. So I used my Frixion marker. I have a stencil that fit the heart perfectly but it didn't really show, so I winged it.


Comments
Post a Comment